Key Takeaways
- You can fix 80% of your ergonomic problems for free using items you already have at home
- The most impactful budget purchase is a $15 to $25 external keyboard and mouse for laptop users
- A complete ergonomic home office setup can be built for under $100
- Some popular “ergonomic” products like blue-light glasses and posture braces offer minimal real benefit
- No amount of equipment replaces regular movement – the single best free ergonomic upgrade
In This Guide
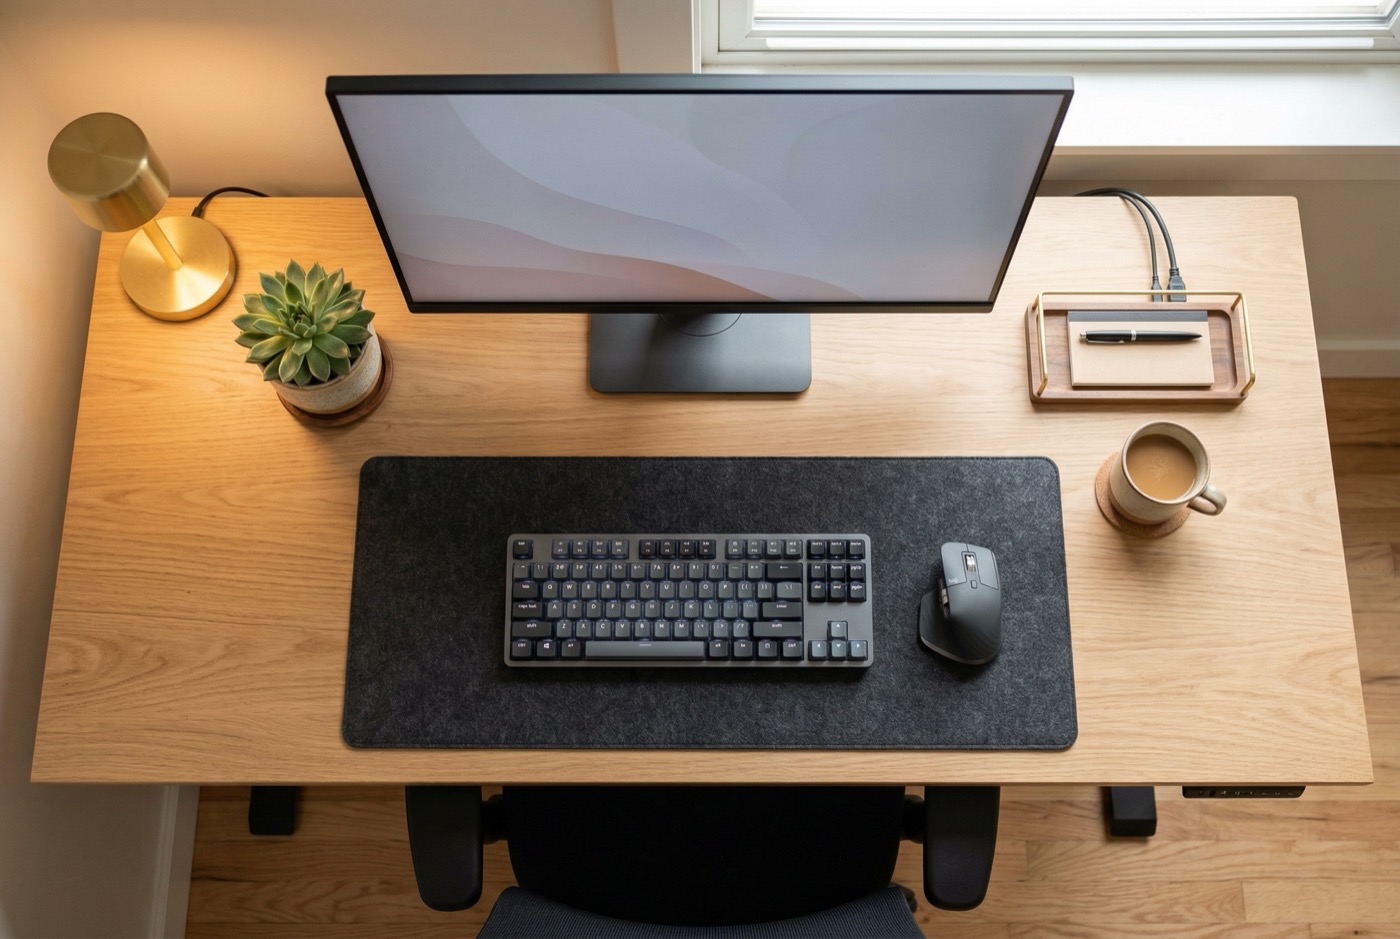
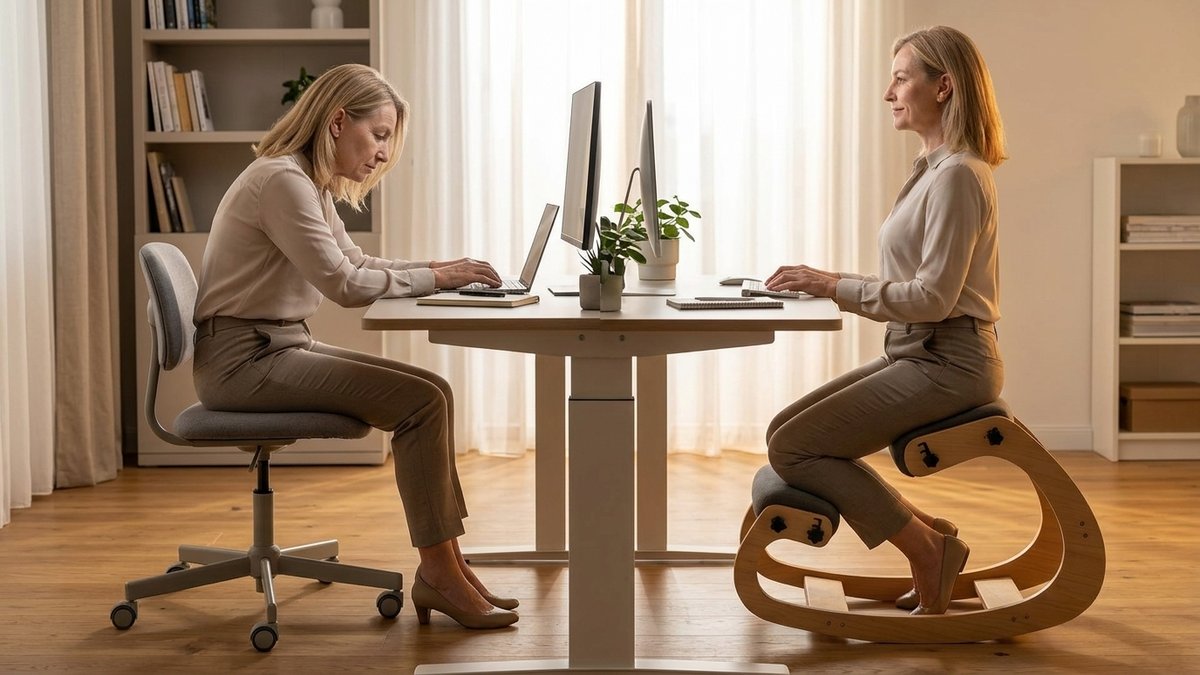
When people think about home office ergonomics, they often picture expensive standing desks, $1,000 chairs, and elaborate multi-monitor setups. That image can be discouraging when you are working with a tight budget.
Image Coming Soon
Editorial photo related to this section
Here is the reality: the most impactful ergonomic improvements are often the cheapest. You can fix 80% of your ergonomic problems for free. The last 20% – the part that keeps your back from hurting at 3 PM – is the chair. That is where your budget should go.
This guide will show you how to build a genuinely ergonomic home office for under $200, with many improvements costing nothing at all.
The Principles That Do Not Cost Anything
Before spending a single dollar, get the ergonomic positions right. These are based on guidelines from OSHA and the Human Factors and Ergonomics Society, and they apply regardless of what equipment you use.
Screen position: The top of your monitor should be at or just below eye level, approximately 20 to 26 inches from your eyes. Your gaze should be slightly downward (about 15 to 20 degrees) when looking at the center of the screen.
Keyboard and mouse height: Your elbows should be at approximately 90 degrees, with your forearms parallel to the floor. Wrists should be straight – not angled up or down.
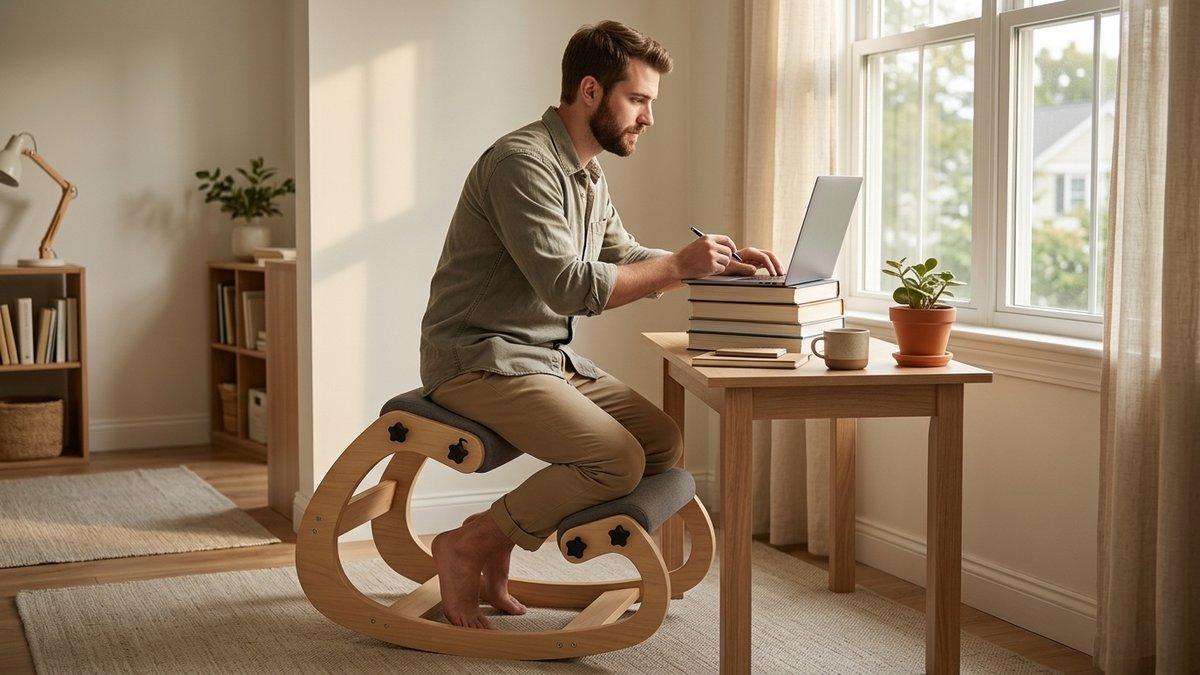
Seat height: Your feet should rest flat on the floor with your thighs approximately parallel to the ground. Your knees should be at or slightly below hip level.
Back support: Your lower back should be supported to maintain its natural inward curve. Your back should be in contact with the backrest.
These four fundamentals handle the vast majority of ergonomic benefit. Get them right, and you have addressed 80% of the problem – regardless of what furniture you are using. For the full walkthrough, see our complete desk ergonomics guide.
Free Fixes You Can Do Right Now
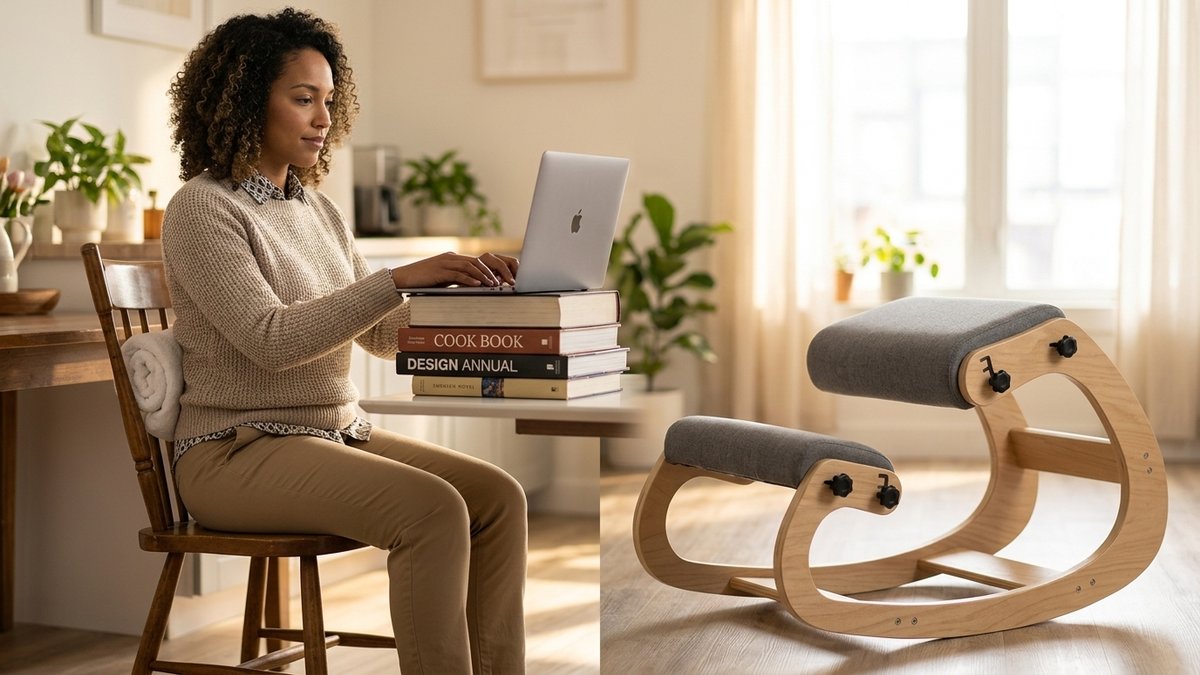
The book stack monitor riser
If your monitor or laptop screen is too low, stack books, boxes, or reams of paper underneath until the top of the screen reaches eye level. This is the most common and most impactful free fix in home office ergonomics.
For laptop users, this means you will also need an external keyboard and mouse. Raising the laptop to eye level puts the built-in keyboard at an unusable height. A basic USB keyboard and mouse can be found for $15 to $25 combined, and this investment eliminates the impossible compromise between neck position and wrist position that laptops force on users.
The towel roll lumbar support
Roll a bath towel to about 4 inches in diameter and place it between your lower back and the backrest of your chair. Position it at the natural curve of your lumbar spine – typically at belt level. Secure it with a belt or strap if it tends to slide.
This costs nothing and provides lumbar support comparable to built-in chair lumbar pads. A study in Spine found that external lumbar supports of this type significantly reduced reported lower back discomfort during prolonged sitting (Williams et al., 1991).
Best Budget Purchases Under $50
External keyboard and mouse ($15 to $25)
If you use a laptop, this is the single most important purchase you can make. With a separate keyboard and mouse, you can raise your laptop to eye level while keeping your hands at the correct height. This one change addresses both neck posture and wrist position simultaneously.
You do not need a mechanical keyboard or an ergonomic mouse at this stage. Any basic, full-size keyboard and mouse will do. If you want to spend a bit more, a keyboard with a gently curved layout ($30 to $50) can reduce wrist deviation, but it is not essential.
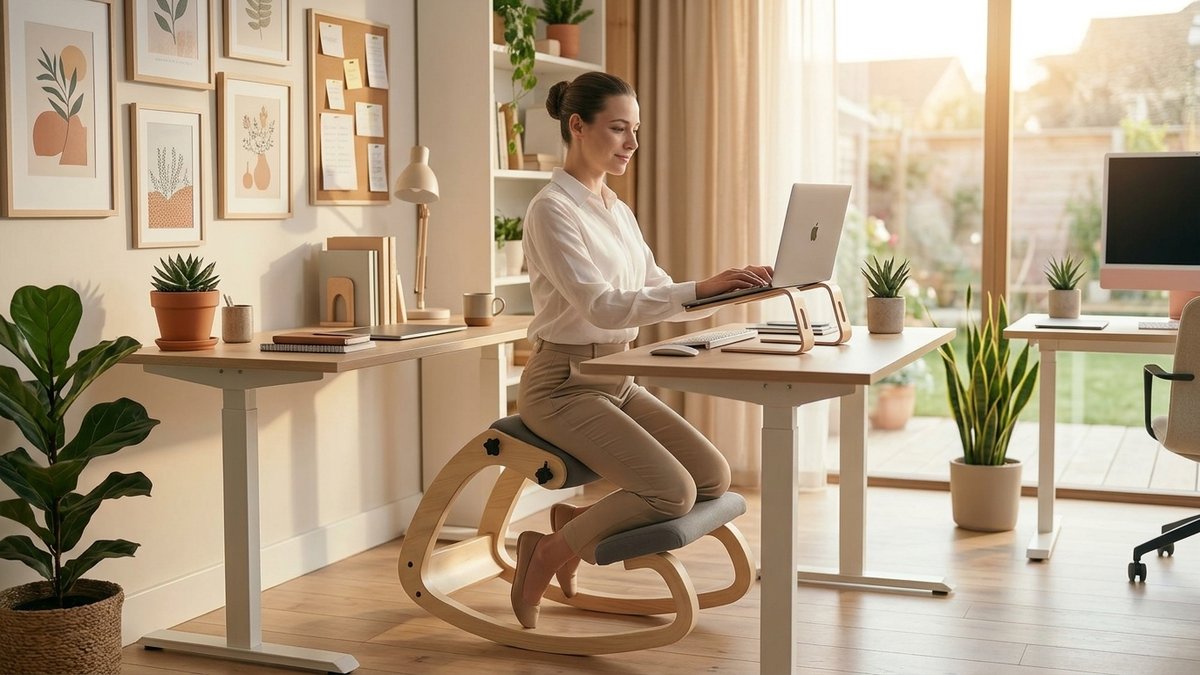
Laptop stand ($15 to $35)
More stable and adjustable than a book stack. A laptop stand raises your screen to eye level and often improves ventilation for the laptop as well. Look for one with adjustable height for fine-tuning the screen position.
Seat cushion ($20 to $40)
If your home chair is too hard, too soft, or lacks adequate contouring, a memory foam or gel seat cushion can significantly improve comfort. A coccyx cutout design reduces pressure on the tailbone – a common complaint among people sitting on hard dining chairs. A seat cushion also raises your seating position by 2 to 3 inches, which can help if your desk is slightly too tall.
Document holder ($10 to $20)
If you frequently reference paper documents while typing, a document holder placed between your keyboard and monitor eliminates the repetitive neck flexion of looking down at papers flat on your desk. This is an often-overlooked fix for neck pain.
Mid-Range Upgrades: $50 to $150
A better chair ($80 to $150)
In the $80 to $150 range, you can find chairs with adjustable seat height, basic lumbar support, and armrests. These will not have the build quality of premium chairs, but they represent a substantial upgrade from a dining chair or folding chair.
When shopping on a budget, prioritize adjustable seat height and lumbar support over features like headrests, recline locks, or 4D armrests. Those are nice additions, but the fundamentals matter most.
In this price range, the right chair makes the biggest ergonomic difference per dollar spent. Our Chair Finder Quiz recommends options based on your budget and specific needs – so you do not overspend on features you will never use.
Anti-fatigue mat ($25 to $50)
If you use a standing desk or alternate between sitting and standing, an anti-fatigue mat reduces the foot and leg discomfort that comes from standing on hard floors.
Monitor arm ($25 to $60)
A monitor arm clamps to the back of your desk and allows you to position your screen at exactly the right height, depth, and angle. It frees up desk space, keeps the screen at eye level, and makes it easy to push the monitor aside when you need the desk surface. Budget models work perfectly well for standard monitors up to 27 inches.
The DIY Standing Desk
Adjustable sit-stand desks typically cost $300 to $800, but you can create a functional standing work surface for far less.
The ironing board desk: An adjustable-height ironing board provides a surprisingly functional standing work surface. It adjusts to various heights, has a stable base, and costs $20 to $40 at most retailers. The surface is narrow, so it works best for a laptop on a stand plus a separate keyboard.
The shelf-on-desk converter: Place a sturdy shelf, plastic crate, or wooden box on your existing desk to create an elevated surface. This gives you a standing option without any furniture purchase. When you want to sit, simply remove the riser.
The kitchen counter: Many kitchen counters sit at or near standing desk height (36 inches is standard). If your kitchen is quiet enough for focused work, it is a ready-made standing workstation. For more on how to integrate standing into your routine, see our remote worker ergonomic tips.
What Not to Spend Money On
Some popular “ergonomic” products offer minimal benefit relative to their cost, especially when working within a budget.
Blue-light-blocking glasses: The evidence for blue light from screens causing eye damage is weak. The American Academy of Ophthalmology does not recommend blue-light glasses for computer users (AAO, 2021). Your money is better spent on proper screen positioning and lighting.
Posture corrector braces: Wearable posture correctors may provide a short-term reminder to sit up straight, but they do not build the muscle strength needed for sustainable posture improvement. Active exercise is far more effective than passive bracing (Hrysomallis and Goodman, 2001). Learn the exercises that actually work in our posture improvement guide.
Wrist rests for typing: Despite their popularity, resting your wrists on a pad while actively typing increases carpal tunnel pressure. Wrist rests are only appropriate for resting between typing bouts, not during active keystrokes (OSHA, 2023).
The Complete Budget Setup: Under $100
Here is a complete setup that addresses all the key ergonomic principles for under $100:
- External keyboard and mouse: $20
- Laptop stand: $20
- Memory foam seat cushion: $25
- Rolled towel for lumbar support: $0
- Book stack or box as footrest: $0
- Proper desk lighting adjustment: $0
- Document holder: $15
Total: approximately $80. This setup, combined with the free adjustments described earlier, will put you in a far better ergonomic position than a $2,000 chair sitting at a poorly configured desk.

Movement: The Free Ergonomic Upgrade
No amount of equipment can replace regular movement. The most expensive standing desk in the world provides zero benefit if you stand rigidly for 8 hours. The most ergonomic chair ever designed will still cause discomfort if you never leave it.
Build these free movement habits into your day:
- Stand and stretch for 1 to 2 minutes every 30 minutes
- Take a 5-minute walk every hour
- Perform 5 to 10 bodyweight squats between tasks to reactivate your glutes
- Roll your shoulders back 10 times, then forward 10 times, every hour
- Do 5 chin tucks at every break to combat forward head posture
These movement habits cost nothing, take minimal time, and provide more health benefit than any single piece of equipment. For a complete routine, try our free stretches to compensate for imperfect setups.
Building Incrementally
Home office ergonomics on a budget is not about buying everything at once. Start with the free fixes: monitor height, lumbar support, foot position, and lighting. Add budget purchases as your budget allows, prioritizing the items that address your specific pain points.
If your neck hurts, a laptop stand and external keyboard come first. If your back hurts, a seat cushion and lumbar support come first. Over time, you can upgrade individual components. But even if you never spend more than $100, you can build a home office that supports your body through a full workday – if you get the fundamentals right.
Not sure what to prioritize? Assess what needs fixing first with our self-assessment guide.
What should your first ergonomic investment be?
Not sure where to start? Our Chair Finder Quiz prioritizes recommendations based on your biggest pain point and available budget – so your first purchase makes the biggest impact.
Keep Reading
References
- AAO. (2021). “Are Computer Glasses Worth It?” American Academy of Ophthalmology.
- Hrysomallis, C., and Goodman, C. (2001). “A review of resistance exercise and posture realignment.” Journal of Strength and Conditioning Research, 15(3), 385-390.
- OSHA. (2023). “Computer Workstations eTool: Components – Wrist Rests.” Occupational Safety and Health Administration.
- Williams, M. M., et al. (1991). “The effect of lumbar support on seated comfort and spinal posture.” Spine, 16(10), 1185-1191.
Related Reading
This article contains affiliate links. ErgoLife Foundation may earn a commission at no additional cost to you. All recommendations are based on our independent research and mission to improve workplace wellness.